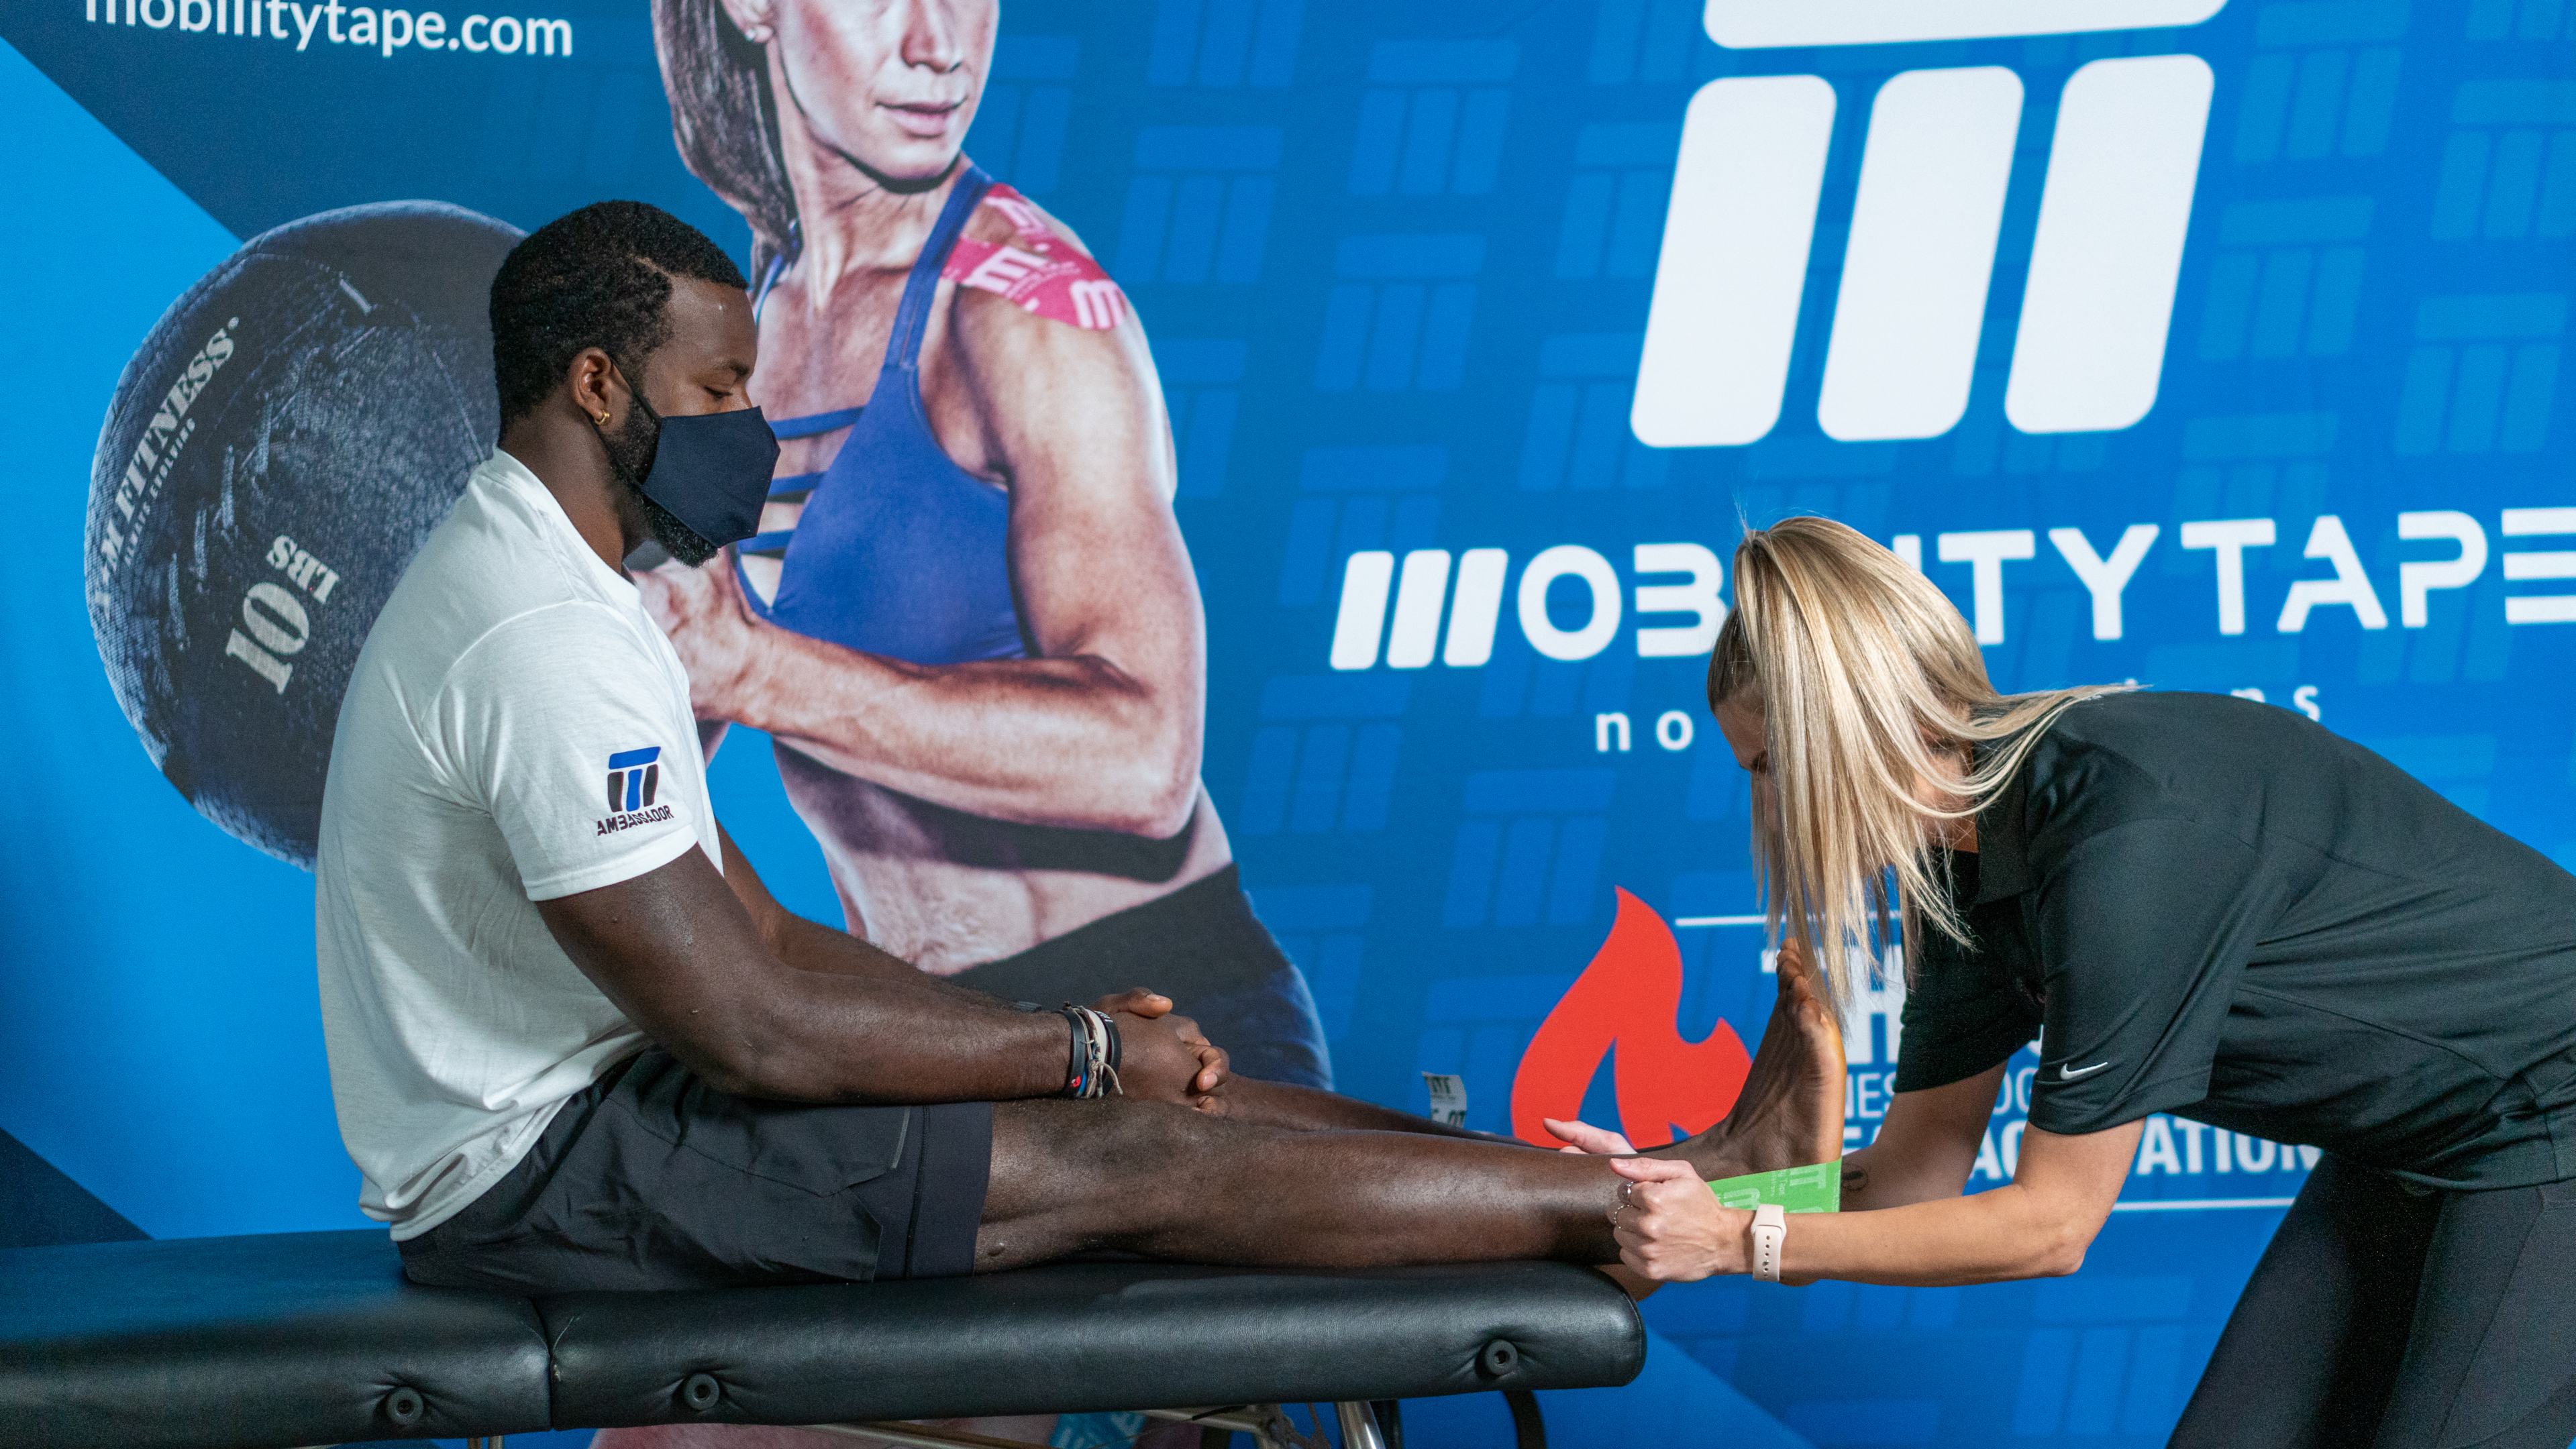
Video tutorial:
Today we're going over how to tape an ankle with kinesiology tape. This tape job is designed to support movement of the ankle, rather than restrict it, to increase ankle stability. Badly sprained ankles should limit movement, and use a tensor bandage or nonstretchy athletic tape. Please seek medical advice if the pain continues for an extended period of time.
Intro to kinesiology tape:
Kinesiology taping is a common practice used by medical professionals and everyday people to increase mobility, improve blood flow, accelerate recovery of an injury and provide support for the body. If you want to know the science behind kinesiology tape, we explained it in this short article.
Mobility Tape:
Today we'll be using Mobility Tape, which is a special kinesiology tape that is infused with menthol and other natural analgesics. This provides the user with a soothing heated sensation designed to releive pain and inflammation while still maintaining the important benefits of traditional kinesiology tape. Feel the heat for up to 60 hours, and wear the tape for up to 7 days through water and sweat.
Mobility Tape comes in all sorts of colours, lengths and widths. Shop all our selections here.
Preparation:
Before applying Mobility Tape, clean the area of oils and dirt using an alcohol-based skin cleaner or any basic sanitizer. Do not touch the adhesive as you handle it. Rub the tape once applied with your knuckles to activate the adhesive and analgesics.
Step 1:
So first, we’ll start with 3 pieces of Mobility tape, one will be 6 inches, the other 2 about 12 inches in length and rounded at the corners. First, tear the short piece in the middle, and peel the backing until you have the middle 2 inches of the tapes adhesive exposed. Have your foot at 90 degrees and place the middle of the tape on the bottom of your foot (just below the heel) around where the arch of your foot starts. Then stretch about 50% and wrap the tape so it goes up the side of the ankle on either side, covering the boney portions of your ankle. Place the anchors down with zero stretch.
Step 2:
Next, add the first long piece as a figure 8 to support the ankle. Create an anchor on the end of one piece, and place that anchor at the bottom of the foot with the rest of the tape angled to tape around the ankle in a figure 8 motion. Peel the backing, apply 50% stretch and as you come up the side of the ankle wrap it around like a bandage.
Step 3:
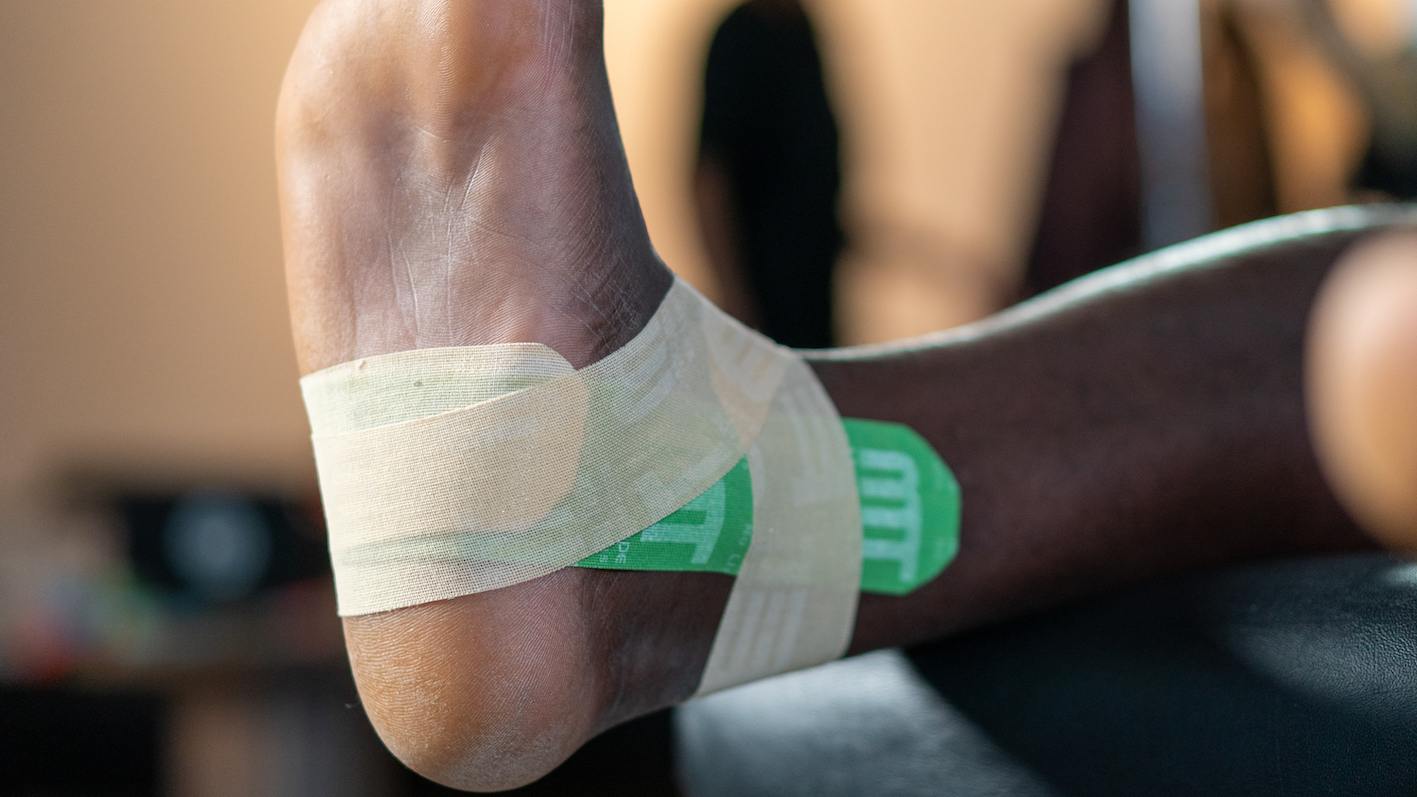
With the second long piece, repeat step 2. The only difference is you're going to create the figure 8 going in the opposite direction. Much of the tape will still overlap. See the photo below.
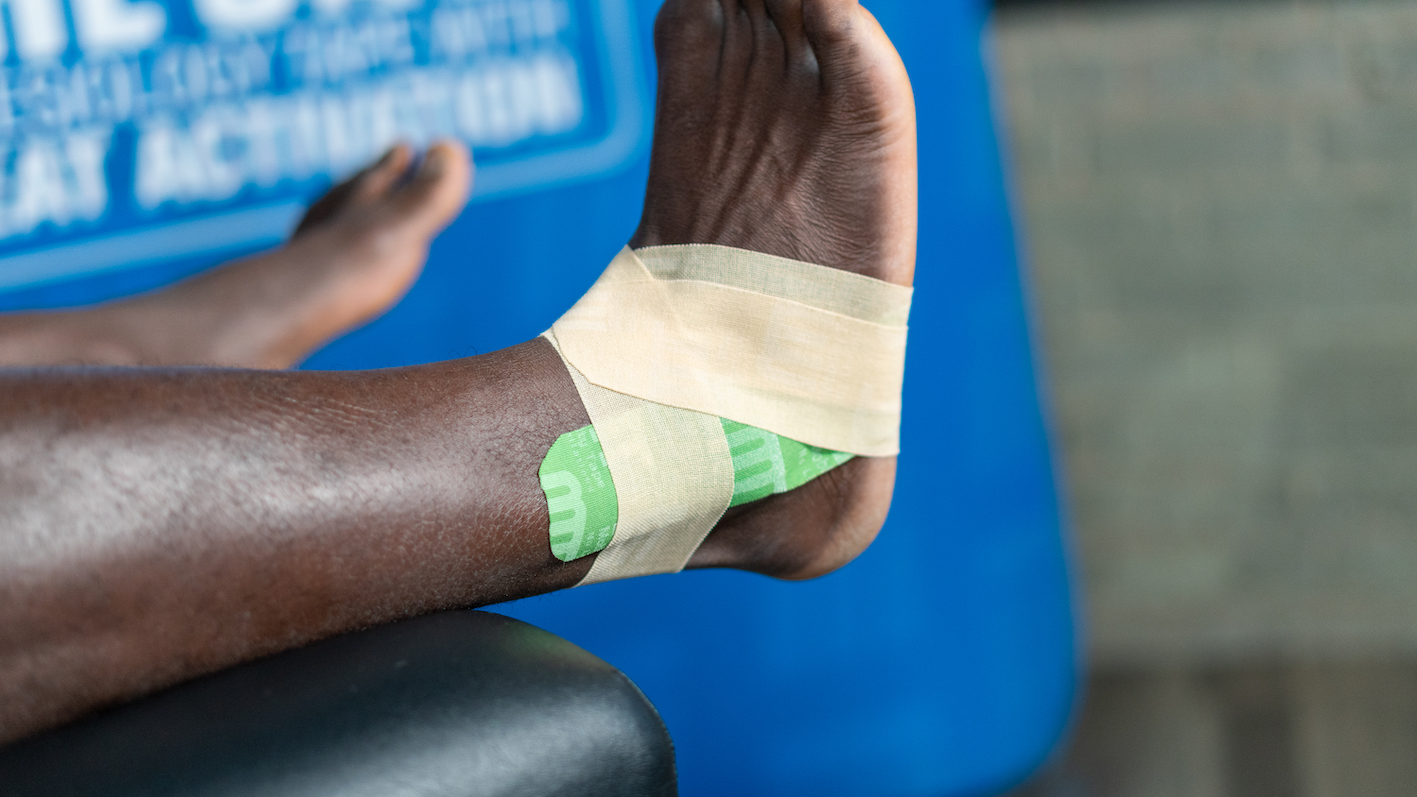
This application should last 5-7 days, and uses 32 inches of tape. The average roll of Mobility Tape has 197 inches of tape or 6 of these applications. Mobility Tape is a tool used to help recovery but is not a replacement for other treatments like rest, ice and elevation. If pain persists please seek medical attention.
Tags
pre wrap, foot and ankle